


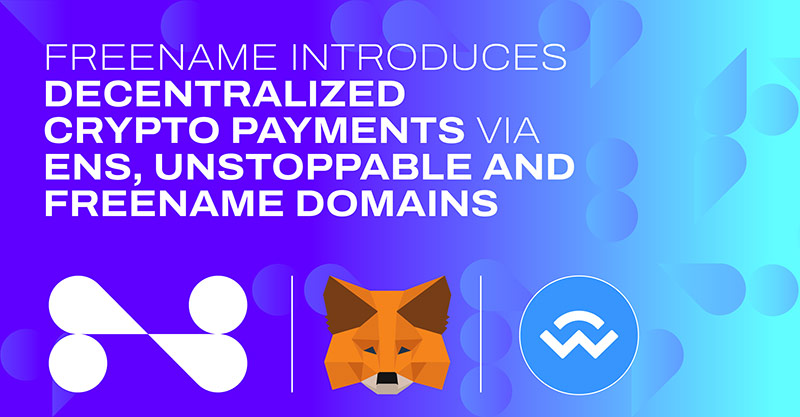
Payments with Freename, ENS and Unstoppable Domains
Freename continues to create ripples in the blockchain industry. After offering crypto domains for sale, Freename is now here with its latest offering that allows users to make crypto transactions. So, what is the entire deal all about? How can you pay with Freename? Let’s find answers to all these questions and more in this article. 🙂
Note: This is a sponsored post.
But First, Why Pay with Freename?
Paying with Freename comes with its own set of advantages:
- Freename ensures that your tokens are received securely by the intended recipient.
- Freename integrates smoothly with all major wallets, thus offering ease of use.
- Freename browser extension makes Web3 payments hassle-free and comfortable.
- Freename allows you to send money to a readable address like fraddy.hodl, thus minimizing the errors otherwise associated with sending money to an unreadable alphanumeric string.
How to Pay with Freename?
For starters, Freename offers crypto domains. Paying with Freename means using Freename/UD/ENS domains to send payments. To get started, you need to follow the following steps:
- Install the Freename Browser Extension
Start the process by downloading the Freename browser extension from here. It is essential to have the latest version of the Freename browser extension.
- Access the Freename Extension
Open the Freename extension on your browser. You can do so by looking for the Freename icon in the toolbar of your browser. Click on the icon to open the extension. This will also help you explore varied features.
- Select the Payment Feature
While exploring the feature, look for the Payments option. Click on Payments to initiate your transaction.
- Choose Your Wallet
Freename is compatible with Wallet Connect and MetaMask. Choose a wallet option that goes well with you.
- Connect the Wallet
Next, connect the wallet with the Freename extension by following the on-screen instructions. This will help Freename securely connect the browser extension and your wallet.
- Initiate the Payment
Once your wallet is integrated, go to the payment section in the extension. The extension will now be able to retrieve your wallet information automatically. From the list of supported cryptocurrencies, choose the one you wish to send. Also, enter the desirable amount.
- Specify the Destination
Next, enter the information of the recipient. For this, select the Web3 domain name of the receiver. For instance, if the Web3 domain name associated with the recipient wallet is freddy.freename.io, enter it accordingly.
- Confirm the Wallet-Domain Connection
Crosscheck all the information and confirm the wallet is connected to the Web3 domain. Freename recommends confirming that the intended recipient is entered.
- Finalize
Go through all the specific details thoroughly. Check if you entered the correct amount, currency, and recipient domain information. If all seems well, click Send.
- Confirm the Transaction
Next, your wallet will ask you to verify the payment. Confirm the details in your wallet and go ahead. Voila! The transaction is done.
Check out this short demo to see how the process works.
Make Your First Transaction with Freename Now!
So, this is how you can send Web3 crypto payments with Freename. The entire process is straightforward and smooth. All you need to do is download the browser extension, connect your wallet, enter the currency, amount, and the receiver’s address, and you are done.
The best part, you don’t have to deal with unreadable alphanumeric string, but a readable and easy-to-remember Web3 domain. Sweet, isn’t it? 🙂